Posts

Die Cutting With Spellbinders 101
Image
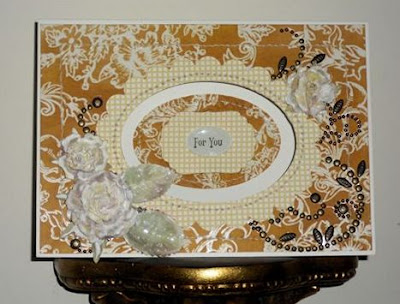
This is the third of four classes offered by Catherine Scanlon called Die Cutting With Spellbinders 101 from http://www.mycreativeclassroom.com . The lesson was learning to cut frames using multiple dies at one time and also cutting matching holes on the front of the card to show the inside. I have never used a magnetic pad before that fits into the card itself. Thanks for looking at my card. It was fun to make. Any questions please ask! Supplies-Stampin Up! Cardstock Whisper White, Writing Stuff, Presto Patterns. Ink: More Mustard by SU! and Stazon Brown. Misc. Floral Embellishment blitz; I used silk flowers that were the wrong color....so I painted them white with acrylic paint and Glossy Accents.

Hambo Stamps are so cute!

Image
Just recently I found a new (to me) stamp company called 'Hambo Stamps'. I haven't used digital stamping very much and thought I would just try. I also ordered some of their rubber stamps as well because rubber stamps of any kind are my favorite. Check out their website at http://www.hambostamps.com/ you will catch yourself giggling alot! Also....Monica was their representative and she was wonderful. I ordered my stamps late Friday night and had them by Monday! On to the recipe....I have someone dear that I have wanted to give a 'Starbucks' card. This image is perfect for that. Supplies: Cardstock and DSP: Stampin Up! It is hard to see but underneath the ribbon I stamped white ink by Colorbox and used white embossing powder by Ranger. The stamp I used was a background stamp by Stampa Rose, Inc. The adhesive is Sticky Tape, ribbon is from my stash....not sure what kind. Graphic image is by Hambo Stamps. Bling is from Michael's. Thanks for taking ti...

Diecutting With Spellbinders 101

Image
This week in class the project is an ornament. I made a card instead using this week's material. The teacher is Catherine Scanlon from http://www.mycreativeclassroom.com My Mother left me a collection of Cameos.....so this graphic reminded me of her. The DSP is Presto Paper inked with Cameo Coral Classic Ink. from Stampin Up, Cameo Coral and Basic Black. The Cameo image itself is a graphic download from the class. I used the Beaded Ovals, Petite Ovals, #4 Label and Fancy Tags from Spellbinders. The adhesive is Sticky Tape and Pop-Dots. I have entered this card in the challenge here: Card Patterns Challenge 152 at http://cardpatterns.blogspot.com/ Any questions please ask!

Diecutting With Spellbinders 101

Image
It is fun to take classes now and then to keep my skills up or to learn a new technique or two. This month I am taking the 'Die-cutting with Spellbinders 101, class with Catherine Scanion at http://www.mycreativeclassroom.com/ . This card is entered in two challenges this week....to see some other beautiful ideas see http://casestudychallenge.blogspot.com/ and http://ourcreativecorner6.blogspot.com/ I used the largest of the small 'Oval' die set....and the second of smallest of the Grande set for the focal point. The graphic is a download from the class. I sprayed this with workable fixative then cut out a duplicate of the graphic onto vellum and cut out close to the edges of the image. This is held over the top of the base and then with a cotton ball and tweezers I inked over the top with 'Soft Suede' ink by Stampin Up! This is done while the small oval is still around the image. When removed from the die this leaves the white edge to contrast the ink. ...

The Shabby Tea Room Challenge #99

Image
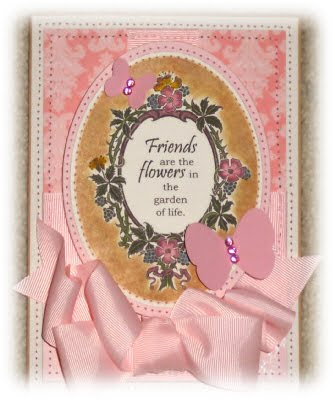
With Valentine's Day around the corner I had to pull out the 'love' stamps! This card is for the Shabby Tea Roo challenge #99 at www.theshabbytearoom.blogspot.com . The cardstock and DSP is by Stampin Up! The Glue and Glitter is by Rubber Cafe. I used a black and a white gel pen. The embellishments are black and also by Rubber Cafe. The ink is black Stazon. The tulle is white glittered. The stamp is by 'American Art Stamps' (Live, Laugh, Love) and the border stamp is by Stampin Up! 'Vintage Vogue'. Any questions please ask! Thanks for taking time to look at my card today!

Day 9 of Clean & Simple Card Making

Image
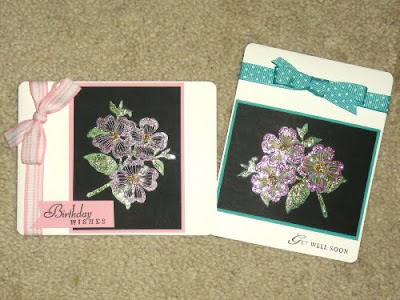
This technique is done by using white pigment ink on a black background and then heat-setting it. Then I used Water Color pencils to color in the detail. I used the lesson by Jennifer McGuire from Day 9 of Clean & Simple Card Making http://www.onlinecardclasses.com/cleansimple/ The teachers for today are Jennifer, Kristina Werner and Krystie Hersch. www.jennifermcguireink.com www.kwernerdesign.com No website for Krystie H. is available Supplies: Cardstock is Whisper White, Bermuda Bay, Pretty In Pink; Ink is Basic Black by SU and White by Color Box; Water Color Pencils are misc. companies; Ribbon is SU; Stickles are pink and green. I just used the Stickles at random. Thanks for looking at my blog. Any questions please ask!

Day 6 of Clean & Simple Card Making

Image
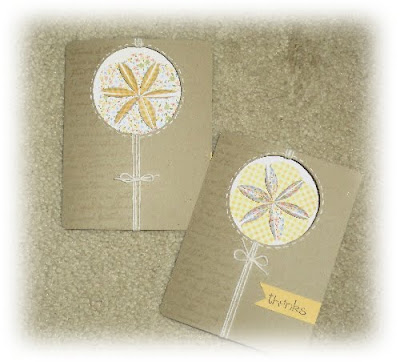
This is day 6 of Clean & Simple Card Making http://www.onlinecardclasses.com/cleansimple/ and I can't believe it! The time has passed so quickly. This is a card that was kind of fun to put together. You punch 6 circles and fold two sides so that when it is all done you have a flower shape! The teachers for today are Jennifer McQuire, Kristina Werner and Julie Ebersole. www.jennifermcguireink.com www.kwernerdesign.com http://papertrufflez.typepad.com/ Supplies are....Paper: 'Kraft' and 'So Saffron' Cardstock and DSP by Stampin' Up!; 3" Circle Punch by EK Success; White Gel Pen by Ink Essentials; White Bakers Twine by Stampin' Up! The 'Thanks' stamp is Stampin' Up! Thanks for taking a look at my blog and come back again soon! Blessings.....